Monday, 11 July 2011

Week Twelve - Truss Me, I'm a Doctor

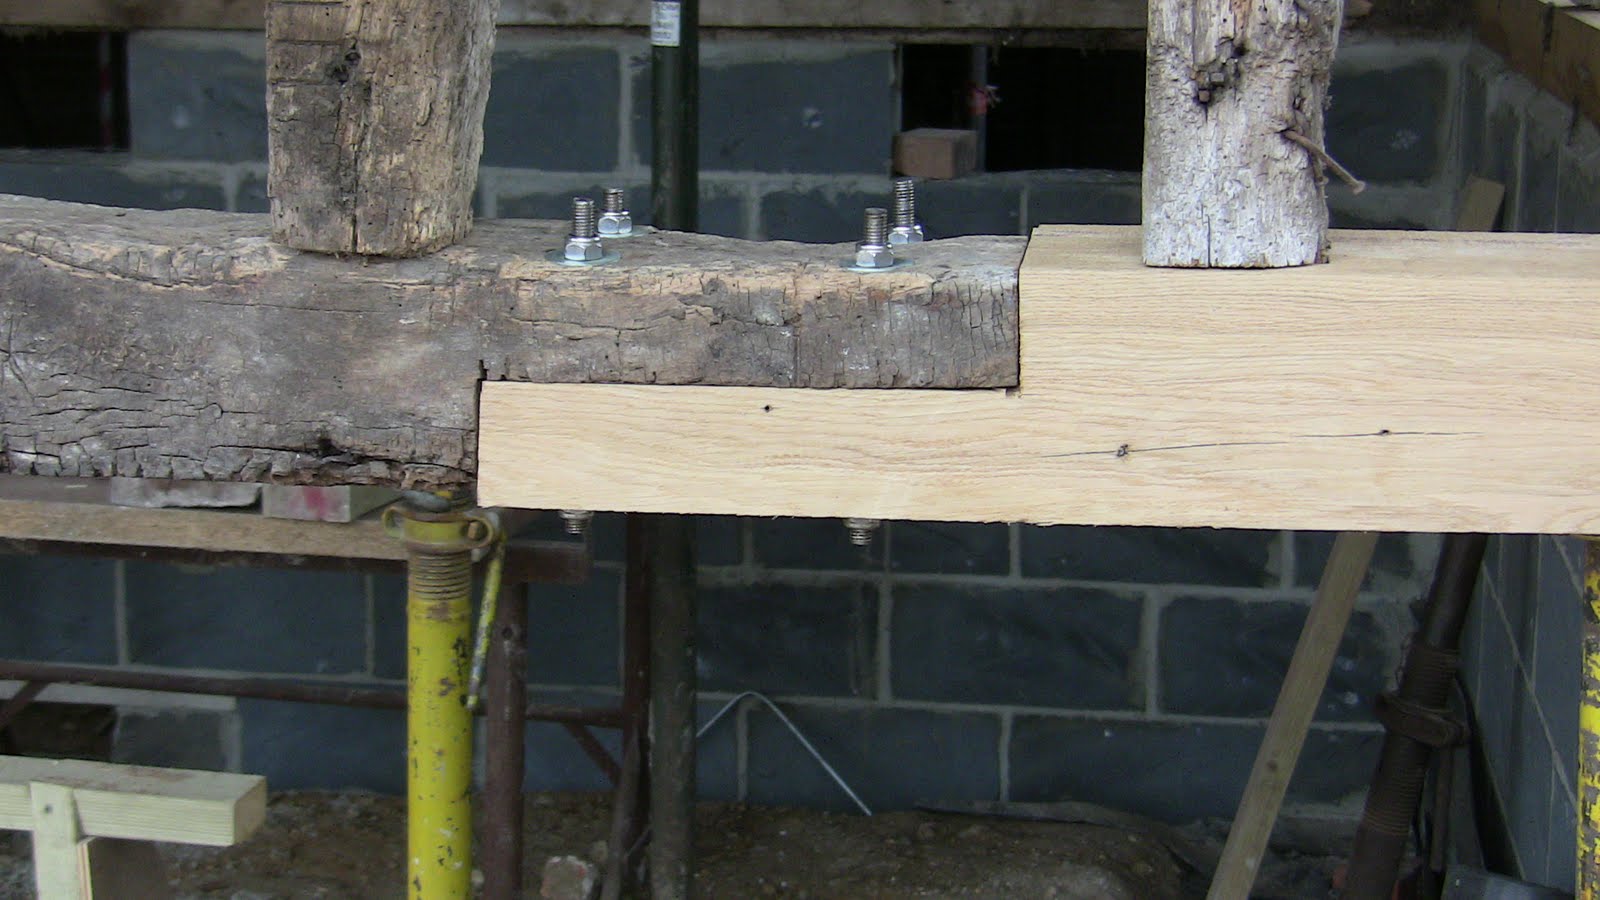
The frame continues to undergo major surgery, with many a transplant and prosthetic . Here's what I believe is a pegged mortice joint. According to the latest thinking, this should really be classified as joinery. But it's big and you'd get a splinter off it, so I'll call it carpentry.


The Archaeological survey carried out as part of the original planning application conjectured that the the whole barn had been moved, lock stock and barrel at some time in the 19th century. Apparently a local landowner wanted the farm it stood on to be converted into parkland surrounding the mansion he was building for himself. And in those days whatever the landowner wanted, the landowner got, provided he could pay for it. No way the Planners of today would allow such a sacrilege ... at least ... Well, anyway. There is some evidence from the markings in the frame that it has been dismantled and re-assembled at some point in its' life.


Our builder explained that they used Roman Numerals and straight lines because you can make those kind of marks with a hammer and chisel. Cool huh?


The king post in the roof of the south projection has been repaired with a new, old, piece of timber.


On the bricklaying front the north and central projections have been rebuilt. Next stage will be to face them with reclaimed bricks. We're running low on bricks reclaimed from the barn itself so will have to buy some new, old, ones from a local reclaim yard.
There's a theory that the entropy in the universe is running down as things decay, cool down and become increasingly disorganised. I see reclaim yards as reverse entropy engines. Maybe somewhere at the end of time there will be a ginormous reclaim yard flogging off galactic detritus to super beings engaged in converting disused solar systems to residential accomodation for themselves.

One of the issues that has cropped up this week concerns the east cart door and the window above it. The design currently appears to take no account of the existing lintel over the door or the studs above it. If we put in the window as designed the lintel would run smack across the middle and the studs would not line up with the mullions. Basically there'd hardly be any clear glass at all. We've decided to change the design a bit - lifting the upper window above the lintel and having just a single pane of glass. That way you'll get to see the studs through the window - which I rather like the idea of - and at least there will be some clear glass for light to get in.


The east cart door opening

One aspect of a barn conversion which makes it difficult to do the planning, scheduling and budgeting normally associated with a building project, is the discovery from time to time of gremlins. This frequently takes the form of timbers in apparently good nick turning out to be rotten to the core on closer inspection. Mercifully we haven't had too much of that, but this week we had a good one. To be honest the main truss across base of the south projection didn't look too healthy from below, but we weren't prepared for what was discovered when the guys came to replacing missing and decayed rafters which bear on that truss. First off the truss is softwood - we thought it was hardwood, oak. But more significantly it was severely wormed, and rotted at both ends due to years of water ingress. Now, with an oak beam it can look severly wormed but still be perfectly sound. That's because the worm cam only penetrate the relatively thin layer of sapwood on the outside of the beam and the core, the heartwood, is still intact. Not so for softwood. We could have asked the builder to put in a couple of his magic scarf joints, one at each end, to replace the rotten bits. But since the rest of the truss was suspect we decided to bite the bullet and order up a new piece of green oak.
The rotten truss with its dovetail jointed end


Dead truss

New green oak truss in place supporting the existing and new rafters.

All trussed up


New truss with its dovetail joint.


And finally here's how it looks from the outside. Doesn't seem to have changed much in weeks, but that's because there's loads going on under the surface. Honest. At least that's what I keep telling myself. Keep the faith brothers and sisters. Keep the faith. Just hang on in there.


Wednesday, 29 June 2011

Week Eleven - A Firm Foundation

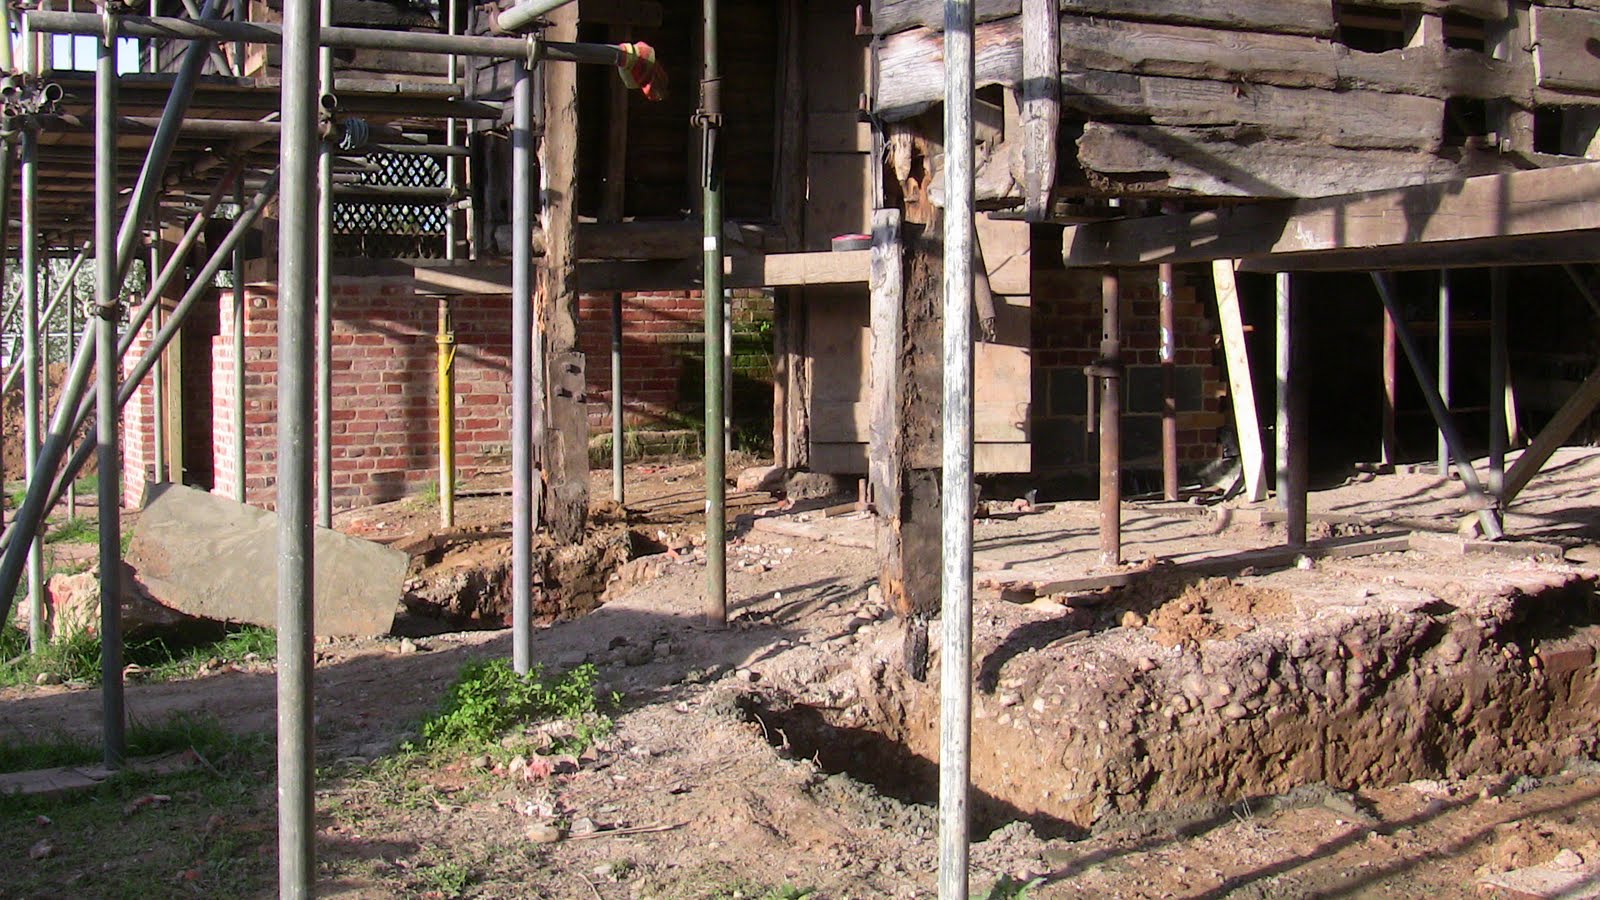
This week saw a another major milestone passed - the last of the concrete deliveries for the underpinning. Everybody says now we'll be able to actually see the progress that's being made. Seeing is believing they say.


Not just the underpinning that's finished - the final foundations for the re-built plinth walls has also been poured. Of course there's still a lot of concrete to go. There's the concrete foundations for the internal walls, the concrete slab for the ground floor and bases of each of the doorways. And then there's screed for the underfloor heating, ground floor and first floor. My understanding is that screed is just another name for a particular mix of sand, cement and water. Concrete, no? Reminds me of the eskimos who have 50 different names for snow corresponding to subtle variations the rest of us can't even see. Builders seem to have 50 different names for concrete. And they've all got different numbers. Ooh, that's a nice drop of C30. I'm more of a C35 man myself. What's your tipple?


Meanwhile carpentry in the timber frame and the roof continues apace.
Look no cripples.

And cripples restored.

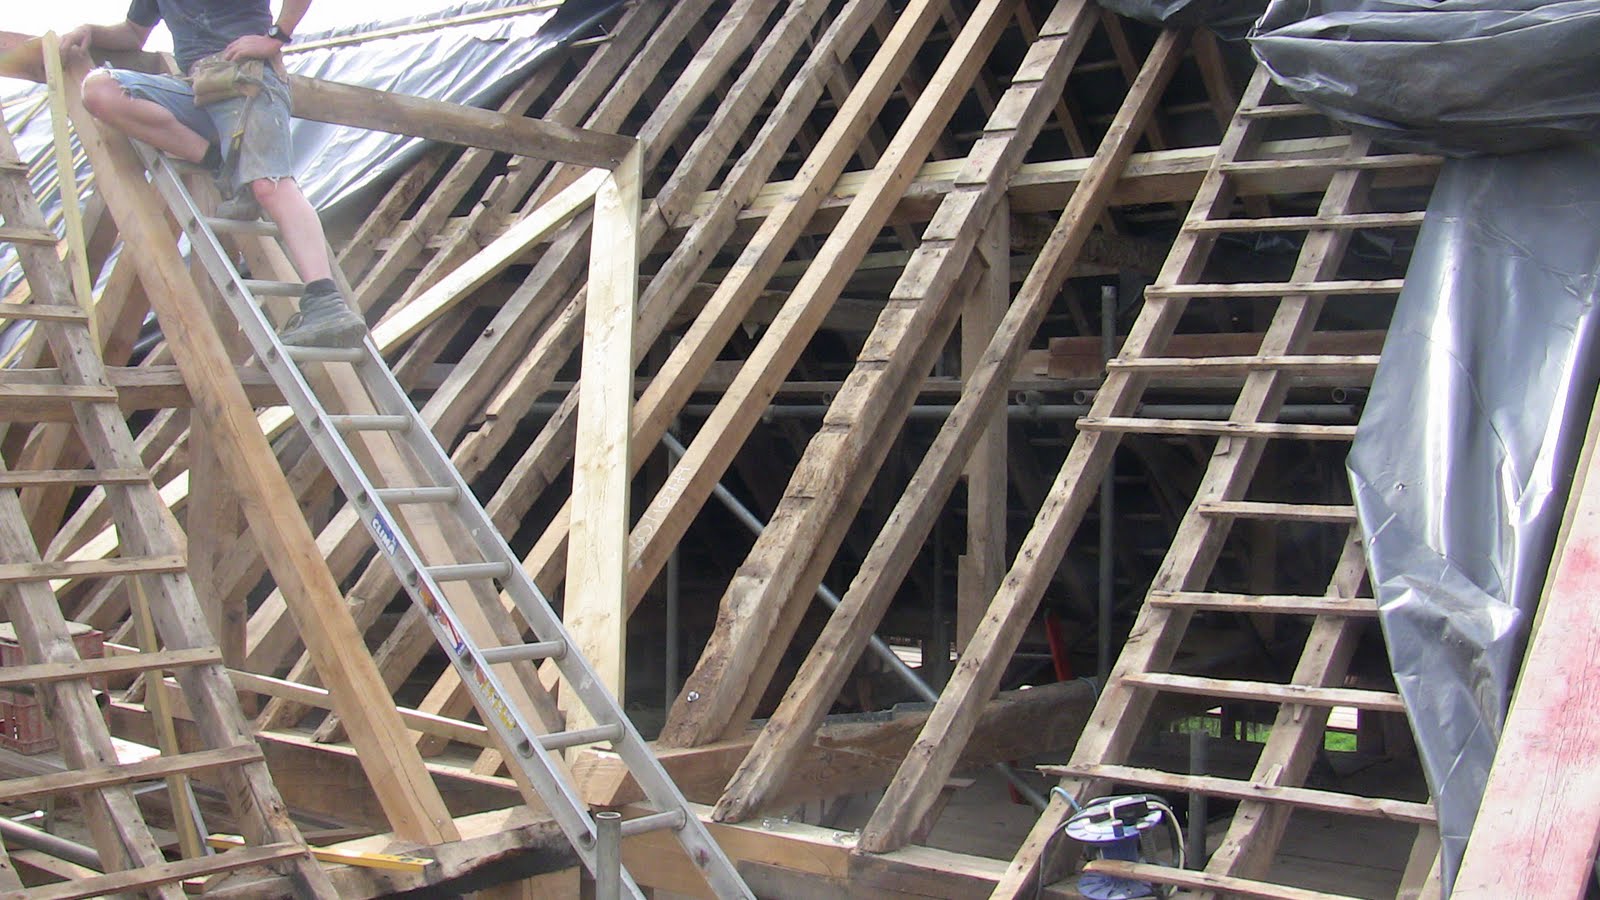
The main roof and projection roof meet in a forest of rafters, wall plates and trusses.


Rafters too wormed and/or rotten from damp are replaced. Some are oak some are softwood. It's frequently a judgement call whether or not to replace an old gnarled timber and our builder does his best to involve us in the decisions. This means impromptu meetings up on the scaffold ending up with - this one, this one, not this one, this one. If the timber is too damaged to do the job, clearly there's no issue, but in general we want to retain the characterful old timbers. But some of them are just plain ugly so they've got to go.


Most of the purlins are in, so the roof now meets modern structural standards.


I just love all the joints there are. Here's a bit of new wall plate.


 And another bit of new wall plate, this time with a lap joint.


A new bit of post to replace the bottom which had rotted away.


I was told of another way of distinguishing carpentry, joinery and cabinet making. In carpentry you cut the pieces to length and nail them together, in joinery you put them together using shaped joints, in cabinet making just glue them together. Makes sense, but I still prefer my splinter test.

It wasn't all unerpinning and carpentry this week. The facing on the southwest wall was pretty much finished. Beginning of the week.

First course.

Getting there
End of the week

We found ourselves once again agonising over floor levels. The dreaded rammed chalk rears its ugly head. There were 2 issues - steps down into the hall and utility room, and the window in the kitchen. We toyed with the idea of biting the bullet and going back to the Planners to see if we could get the chalk floor Planning Condition lifted. We went as far as speaking to them, and also got quotes from a couple of historical counsultants who might help us build a case. We got the sense that there could be grounds for an appeal.
However it was clear that such an appeal would be costly, time consuming, and there would be no guarantee of success at the end. So once again our decision was to live with the chalk floor. As Magnus Magnusson would have said, we've started so we'll finish.

It wasn't all doom and gloom with the Planners. We had discovered that because of chalk floor in the 'kitchen' area, the height of the finished floor, which has to be constructed over the rammed chalk, is so high that the bottom of the window as currently designed and approved, will be below worktop height. We'd prefer to have the window above the worktop, don't you agree?

So when went back to the Planners we were advised to submit a request for a 'Minor Amendment' to raise the window  by 200mm. More expense, more fees, more delay, but hopefully not enormous. Like all things to do with Planning, there are various hoops to jump through and the whole thing takes weeks and weeks. But we've got plenty to be getting on with so that shouldn't be a problem.

And Finally


Friday, 17 June 2011

Week Ten - Plinth and Frame


Who nicked my Utility Room? There were walls there last time I looked.


We had a bit of a cave in overnight in one of the trenches which had been prepared for concrete to be poured the next day. The edge of the trench now came perilously close to one of the supports for the scaffold. Bit scary till it was shored up.


Repairs to the roof structure proceeded with new rafters being cut and installed.


Central projection roof with the cripples removed.


I really like the king post, just visible through rafters.


We plan to leave this section of roof exposed.


Some of the old timbers have a bit of wood worm. Just a bit.


The back garden is looking really nice. So well kept.


The external plinth wall to what will become our utility room.
Now you see it.
now you don't
ah there it is


I’m the king of the castle.
Visitors to site checking out the view from the top lift of the scaffold - some 7m up. And proving they don't suffer from vertigo. Honest Guv.
Blossoms are out. 
We’ve noticed that there's a track  across the back garden – not sure what it is or what’s causing it. Speculation is that it’s a path created by deer as they run across, but it seems a bit small for that. Maybe I should put up CCTV cameras, or sit up all night wearing  infra red night sight goggles and a balaclava and see what I can see. Or maybe life’s too short.
The central projection of the ‘capital letter E’ shape of the barn is in effect a separate building attached to the main north-south body of the barn at the wall plate and sole plates. The post on one corner where the central projection meets the main barn had completely rotted away and the frame was shored up at some time in the past with 4 large pieces of softwood, from floor to truss.

These supports have now been removed and the two corners rebuilt from ground up – new brickwork and new green oak posts.  The corner post on one side was missing but the post on the other side was still there, albeit in a poor state. 
The question then arose – what to do on the other corner. Do we try to retain the existing post, replace it with a new single post, or a new pair of posts, as on the other side. Various view were expressed: new pair of posts, in the interest of  symmetry; symmetry and balance are pleasing to the eye; it would look really odd to have two completely different set ups on either side of the hallway; the existing post, although a bit gnarled and worm eaten has character and plenty of life left in it (maybe ...); symmetry is boring; asymmetry is exciting and challenging to the eye; symmetry and equilibrium  are essentially static, dead;  asymmetry creates movement, is dynamic, life-giving. (Maybe you can guess where my sympathies lie ...) We even did a straw poll of the views of the guys on site but they were no use – split 50 50 just like us.


Anyway, symmetric it is.

An ongoing issue is how to get pipework and cabling from the plant room into the barn. The ground source heat pump is going to be located in there, along with whatever water purification kit we need, and the electricity supply and meter will be in there too. Not too much room left for plants you might be thinking. Anyway, the plant room only touches the barn corner to corner so any services running between the two will have to go ‘outside’, either overhead or underground, for a short distance. Overhead could work but would require insulation and boxing in. Underground would still need some insulation, could cause complications with the drain routings, but at least would be out of sight. We shall see. Or not.
 And finally