Monday, 30 April 2012

Week Forty Two – What was that Question Again?


Wondering what to call the barn when it's finished.  My mind is a bit foggy on this one.


How about Misty Hollows?


Some rebars for reinforcing the slab in front of the rear wall.


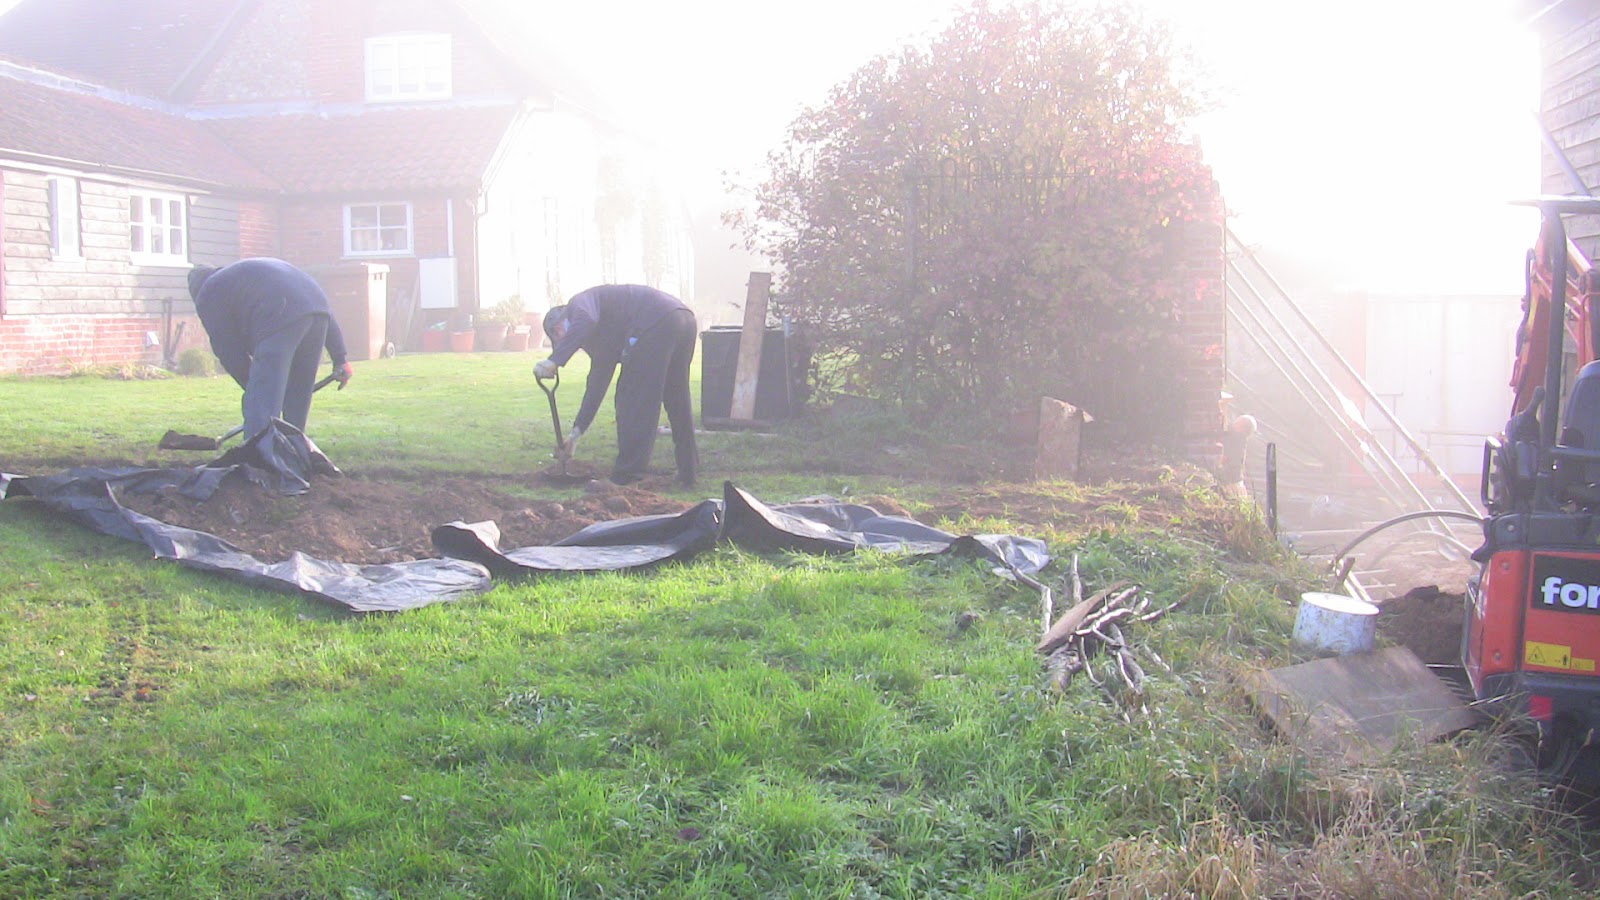
We're getting the power company to re-site our electric meter. We have to prepare by digging a trench across neighbour’s lawn - as you do. He has a pole in his garden which supplies our barn via an overhead cable. The don't do overhead any more - hence the trench.

Upstand. The vertical part of the steel reinforced concrete retaining wall. They start by assembling the rebars as specified by our Engineer. They'll next put shuttering, sheets of ply, in front of it and pour concrete in. But they have to do the horizontal slab  first - or else the concrete would just run out the bottom ...


Have to provide ducts for services and drains for plant room through what will be the concrete slab.


Still concerned with the quality of our borhole water. Before getting it tested again we've been running the pump, discharging into the stream, to flush out the stuff left by the drilling operation and hopefully get a more representative sample for testing.


Water looks reasonably clear after the pump has been running for some time. Otherwise it looks rather brown which, we're told, indicates high iron levels.


Suffolk’s answer to the Himalayas? What shall we call it? Mount Never Rest?


The wall above/behind the chimney breast has been plastered. Looks great.


In addition to water quality and and retaining walls, issues this week have included:  how to join the plant room to the main building (plans show them touching corner to corner - how do you do that?); how high should the plinth wall on the garage / plant room be and how many bricks to order; is there any way we can accelerate the building process?

And finally


Tuesday, 24 April 2012

Week Forty One – Bunker Building

We often have little feathered visitors inside the the barn. This one has been known to spend the night.


The underpinning  of the existing back wall is now done so it's time to make it a retaining wall. When the bomb drops this will be the safest place in Suffolk.


Digging down under the walls reveals some of the strata. If I was a geologist I'd explain that this is a gravel layer overlying sand on top of what looks like the blown soil covering much of central Europe. And of course there's evidence of glacial till meaning this area was under an ice sheet some 8000 years ago. And under all that is chalk all the way to Australia. But what do I know?


Bringing the services into the barn from the plant room and evacuating foul water from the barn requires ducts and drains below what will be ground level. Don't you just love that word - foul? Hmm.


Round the back we've been moving the heap of  old timber. Most of it's only good for kindling. Or maybe a bonfire?


Some of the rafters have been hidden by plasterboard which makes the ceiling look a bit odd. So to preserve that overall sweep from one side to the other we've had some false rafters nailed up under the hidden ones. They're bits of our own old oak  so they're not really false. Just cosmetic.


Outside, down the hole with the rebars. This whole trench will be filled with concrete, about 25 meters cubed. Gulp.


Here's the underpin showing ground level behind the wall.


The rebars for the slab fully assembled look like a giant sofa. Not a very comfortable one.


The trench with the rebars waiting for the concrete to be poured has to be covered up against rain or it would fill with water - not good.


No, not a case of flying withdrawal symptoms. Just using the dumper to move lengths of timber.


And finally


Saturday, 18 February 2012

Week Forty – Hoggin the Limelight

Digging out the area around the retaining wall is generating quite a bit of hogging. Tempted to put up a sign at the top of the drive - Viewpoint - This Way to Highest Point in Suffolk. We could open a kiosk selling teas and ice creams to all the tourists that flock to admire the view over the surrounding countryside. If you build it, they will come. No?


Acrows and rebars in the pit below the wall where we'll be pouring yet more concrete. Tens of cubic metres of the stuff. Thought of going down the bank and getting bags of pound coins to chuck in the hole. Would probably work out cheaper.


Section of wall underpin with rebars sticking out ready for the slab in front of the wall to be poured in due course. Note the sheets of ply, shuttering, to form the slab.


Reinforcing for the slab with green acrows and timbers to shore up the wall above.


The back wall we're underpinning and supporting crosses our boundary onto the neighbours land. In providing a retaining wall for the wall bounding our property we have to support the adjacent  portion of the wall belonging to our neighbour while we're doing the underpinning.


The external faces of the studwork are coplanar because they had to be lined up  to take the weatherboarding. However the internal faces of the studwork are all over the place because the timbers themselves are so irregular in size. Plastering over the internal side of the studs yields the slightly odd situation in which some timbers are deep enough to remain proud of the plaster but others just get covered over. Hence the apparently missing studs. They're still there - you just can't see them. In a couple of places this leaves the wall looking so imbalanced that we've decided to ask the builder to put up some false studs - fairly thin strips of oak screwed to the wall where the stud would be visible if it were deep enough. Am I making sense? This is especially true of a couple of the trusses in the ceiling over the kitchen - of which more anon.


Wall plastered with studs showing – main bedroom


View along the West wall. Downpipes still need to be fixed properly. Have to remember to make sure they finish them off.


Issues nagging us this week.
We need to decide on what kind of screed to put on the floor over the insulation. Traditionally it's a fairly dry sand cement mix, thickness 70mm. The self-build comics have adverts for a new system using a wet flowing screed, more of a hard plaster than a cement mix. It's more expensive but supposed to be quicker to lay and set, which saves time. And time is money in this game. And it's only 50mm thick which means the underfloor heating is a bit quicker to respond. But, and there's always a but. But the guys have never used it before so, there's the usual reluctance to change working practices (if it ain't broke don't fix it, would be a charitable view). That means there'd be a learning curve and scope for error which could eat into any time savings. Also it does seem to require more preparation than the traditional method. And last but not least the 50mm versus 70mm thickness would mean that the underfloor heating pipes are 20mm closer to the surface of the screed and therefore potentially more vulnerable. All in all we're inclining towards the sand cement screed. Cowards or what?
Talking of underfloor heating, we've now placed the order for the kit. Exciting times


And finally


Monday, 13 February 2012

Week Thirty Nine – Getting Plastered

Preparatory work for the garage continued this week with serious shoring up of the existing retaining wall.


Tempted to say belt and braces, but it's a serious matter and no sense taking risks.


Underpinning the wall certainly looks scary. The ground level the other side of that wall is a couple of metres above the bottom of the existing concrete foundation, such as it is. And we're digging out another couple of metres below the wall.


The concrete uderpin will have steel reinforcing bars embedded in it and linked into the horizontal concrete slab which will be poured in front of the wall. We're doing two things - underpinning the existing wall and then putting in further slabs of reinforced concrete to make the wall a retaining wall.


Steel reinforcing bars ready to go in.


Meanwhile, work prceeds inside the barn. Main bedroom plasterboarded.


And plastered over. That's the way they do it in this country nowadays. Nail up sheets of plasterboard and then skim over it with a 5mm layer of plaster to provide a continuous finish over the joints. Presumably quicker and cheaper than just plastering. In France they have a Placo system which involves metal studwork and plasterboards with a slightly recessed edge. That way you only have to tape and skim over the joints and then can paint over the whole thing. No doubt the industry in this country would be a bit sniffy about that method, and could give you a list as long as your arm as to why it doesn't work. But there you go.


The north passage. We're going to need to build another retaining wall here too.


Pouring concrete into the holes under the wall. The question was, how do you get the dumper close enough to the hole, given all the shoring acrows and timbers in the way? The solution was to stand off a bit and slide the wet concrete down a couple of boards. Cool huh?


Oh deer - again.


One day the back garden will be a beautifully manicured lawn. But for now ...


Issues we've been struggling with this week have included: keeping plasterers on site (they keep being pulled off on to other jobs), what kind of floor screed for the underfloor heating, when to order the underfloor heating kit, and floor finishes (tiles, wood or natural stone). Last but not least there's still the question of water quality. Various tests of the stuff coming out of the borhole are giving conflicting and confusing results. So what do we do? Put in all the filtration and purification stuff the worst case scenario calls for, or what?
Sometimes I think it would be so much easier just to hand over a pot of money to a developer and say give me a call when it's ready.

And finally


Friday, 3 February 2012

Week Thirty Eight – The Joy of Underpinning - Again

Heart warming, spine tingling, exhilarating, exciting moment this week. Well, a pretty good moment.  The scaffold at last starts to come down. Exterior work on the roof the walls & the windows is done.


Now the scaffold is out of the way we can get on with the garage and plant room. Have to start by moving the heap of rubble from the area where the garage and plant room will be built. More hardcore dumpering called for.
Heard recently that Garage is the soulful branch within House. Be that as it may, no garage no house - all the heating and water purification equipment as well as the electricity meter and distribution board are scheduled to go in there. So we'd better get on with it.


And here the heap isn't. Before we start building the garage there's the small matter of that back wall. It's about 3 metres high this side and only 1 m the other side. So what's holding it up, I hear you ask. Good question - not a lot. 


Without the scaffolding we can start to see how it's going to look like. The east cart door, with glazed top and side panels. All we need now is a door. But the joinery company hasn't made them yet ...


Plasterboard in the cloakroom. The brick plinth is completely covered. At the top of the plinth, at sole plate level, is a sort of shelf.


Plasterboard in the study – again with a plinth shelf at sole plate level.


Plasterboarding the kitchen area – blockwork plinth will be insulated with 75mm Celotex.


The northeast passage, long regarded as fraught with danger and well nigh impassable. Well, here it is, revealed in all it's glory. Not so scary after all. Something to do with global warming?


One of the questions we've been wrestling this week is whether or not we need a de-coupling membrane. Sounds painful but it's really just a layer of plastic, or something ,between the floor finish (tiles or slabs) and the concrete screed underneath. It's particularly needed in the case of a natural floor finish such as limstone slabs or travertine. It allows movement between the floor finish and the underlying screed as they expand and contract at different rates - of particular concern where you have underfloor heating. We've seen lengthy articles on the internet saying how essential such a membrane is if you want to avoid cracking. But none of the guys we've spoken to has ever heard of them. Hmm.

Underpinning the north wall looks even more daunting than underpinning the barn. The problem here is the weight of soil, not to mention the farm house,  sitting up there behind the wall. Putting a new foundation under the wall could be a little tricky.  Wouldn't want all that lot coming down once we start undermining the wall to insert a new concrete foundation. Of particular concern as a couple of guys were killed last year, at a barn not far from here, when a wall they were working on collapsed.
And finally