Thursday, 15 December 2011

Week Thirty - Hot Air

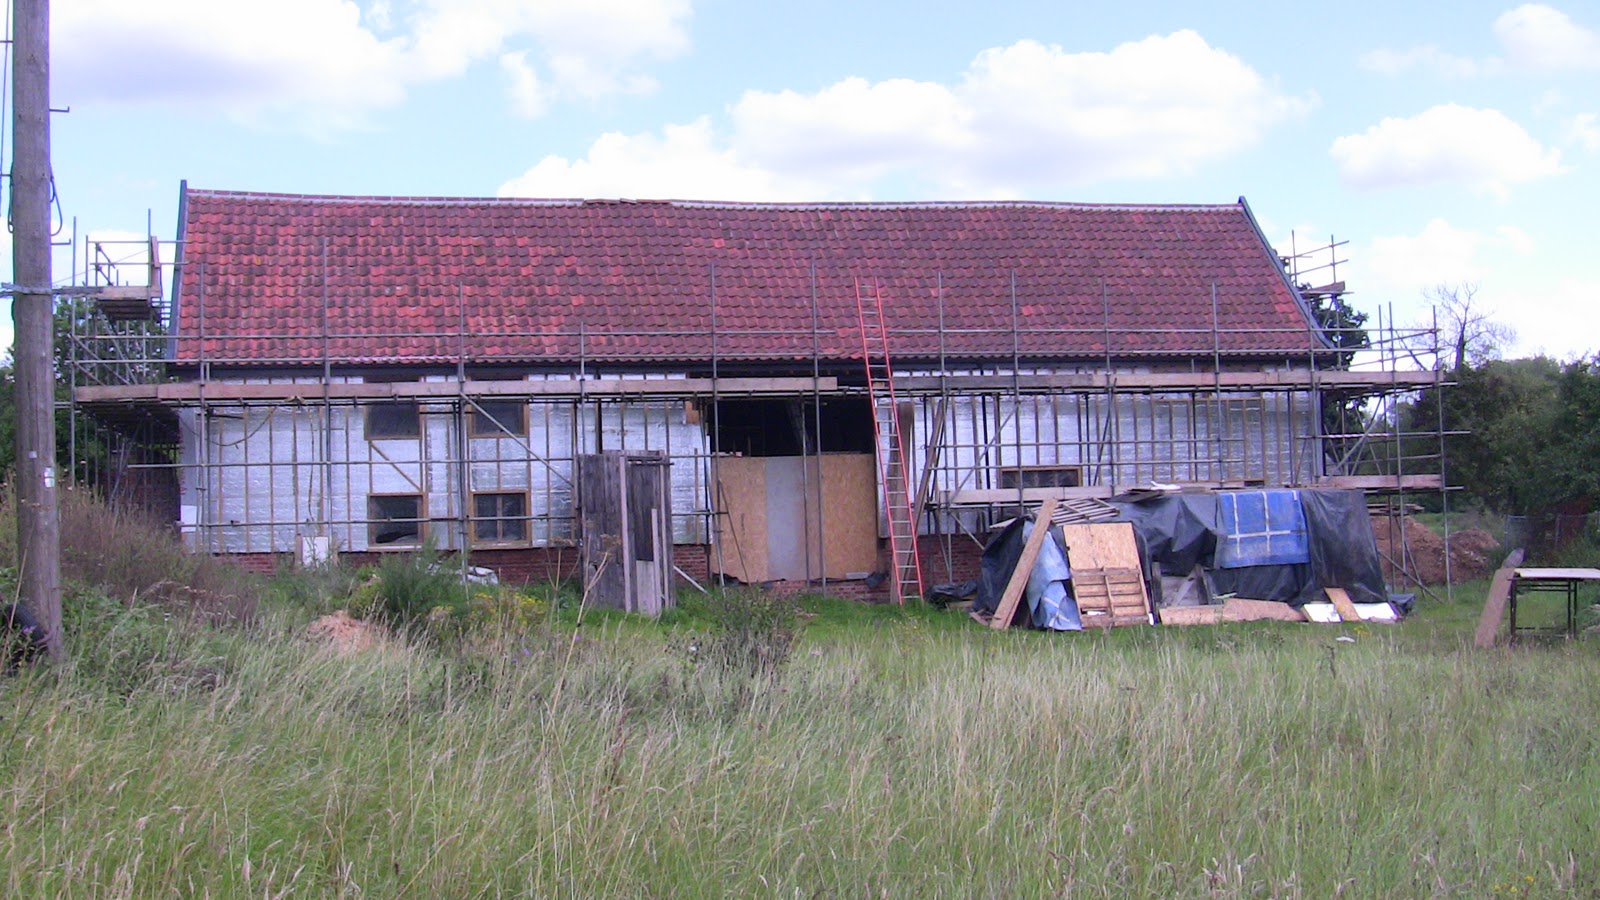
The Queen’s birthday is marked by an RAF flypast over Buckingham Palace. We chose to mark current progress with the barn by  arranging a flypast of three vintage aeroplanes over the Barn. 
(Just kidding.)


We're having Heat Recovery Ventilation installed. The idea is that the barn is designed to be pretty much airtight and all ventilation ducted in and out via a couple of heat exchangers. As the stale air is pumped out of the building it warms the air coming in. That way the air is changed regularly (way in excess of building regulation requirements) while the heat in the air is retained in the building. Cool huh? Or should that be Warm huh? The HRV kit was delivered this week. We had a last minute change of heart concerning the ducting. The original design was based on rigid ducting, essentially 4 or 6 inch diameter pipes rather like drain pipes. We couldn't see how to route that kind of ducting round the barn given the contraints of an old timber frame with beams and trusses all over the place, not to mention steel beams in the ceilings. So we opted for a system using flexible ducting, the red stuff.


Another view of that diagonal timber across the doorway which had to be cut to let us get to bed.


The plywood on the first floor is fixed to the joists using something called ringshank nails. Whereas ordinary nails have smooth shanks, these things have raised rings along the length of the shank. I think the idea is that the corrugation makes it difficult to get the nail out once it's driven home. Bit like the twisted square nails used to fix joist hangers. Bet you didn't realize that nails could be so interesting? Personally, I find them quite riveting.


The chimney in the centre of the barn is going up. The brick and blockwork will be covered by plasterboard and there will be a facing of bricks visible from the double height area.


The internal domestication of the barn took another step forward with the delivery of the door linings. More learning curve stuff - door linings, architraves, door stops. Not to mention door furniture (handles and locks to you and me) and of course not forgetting butt hinges, washered or ball bearing.


Timber frame against the OSB. Some people choose to put all the insulation on the outside and keep the frame exposed internally. The problem with doing it that way is that the barn tends to bulge. The insulation pushes the weather boarding outwards by the thickness of the insulation deployed, say 100mm or even 200mm. We’ve chosen to have some of the insulation outside and some inside between the studs. There are pros and cons to both approaches and who knows what’s the right thing to do. Still struggling to decide whether to use sheep wool or rock wool between the studs. Probably come down to cost in the end.

King post over the central doorway as seen from the outside. I think it looks great. You can see the original carpenters marks on the timber.


New studwork in the roof space over the back stairs. As if there wasn't already enough timber in the barn, we're adding loads more - for new walls and ceilings.


Partition walls and ceilings over the back hall and staircase. What staircase, I hear you ask. Good question. Watch this space.


And finally

Friday, 9 December 2011

Week Twenty Nine – Blast Off

Busy week this week. Window frames painted and ready for fitting


We discovered this week that the headroom over the south exit door would be around 6ft - a couple of inches short of the regulatory height. As a barn conversion is exempt from certain things where the nature of the structure makes compliance impossible we had the option to leave it as it is or else redo frame above the doorway. It wouldn't be trivial and would involve fairly major surgery. So we decided to leave it. We've been advised to put a picture of a duck over the doorway ... In fact, over several doorways.


There's a pile of old timbers recovered from the barn out the back. We've managed to re-use some of it but not sure what to do with the rest. Would be expensive if we had to go to a reclaim yard and buy it - but who'd buy it off us? Maybe try our luck on eBay? Worm Eaten timber for sale, roll up, roll up.


And the pile of old boards just keeps on growing. Maybe use for kindling some day. Or perhaps just a bonfire.

A picnic table for the guys. Never let it be said that we didn't provide the best facilities money can buy for the wellbeing of our guys.

Plastic closures under the external cladding to keep the vermin out, hopefully. Does that look straight to you?

The timber frame needed sand blasting to remove years of dust and woodworm frass. (Never heard that word before. Dictionary.com defines it as insect droppings. Yuk. It's what the woodworms leave behind after feasting on your antique furniture - a sort of powdery, dusty coating. Like I said - Yuk.) Anyway, we were visited this week by the Blasting Spaceman - at least that's what he looked like.


Dust everywhere and billowing out the door.


Our Spaceman brought with him a machine that looked something out of Charlie and the Chocolate Factory. I expected a squad of Oompa Loompas to leap out and set to work. I wish ...


On the first floor, stud walls are going up – beginning to see how the first floor will look, how the rooms will be. Amazing the difference once you begin to set boundaries to open space.


View from the bedroom - for now, because it will be boarded over in due course.

Not all walls are stud work - here's blockwork up to the truss between bedroom 2 and 4.


Out the back flora and fauna continue to flourish despite the lack of rain.

Noggins between the ends of the joists to stop them falling over


And noggins between the middles of the joists doing the same sort of thing - it's all about greater stability I guess.


A steel beam notched into a supporting post. Amazing that an oak post can provide enough support for a steel beam holding up a load of floor joists.


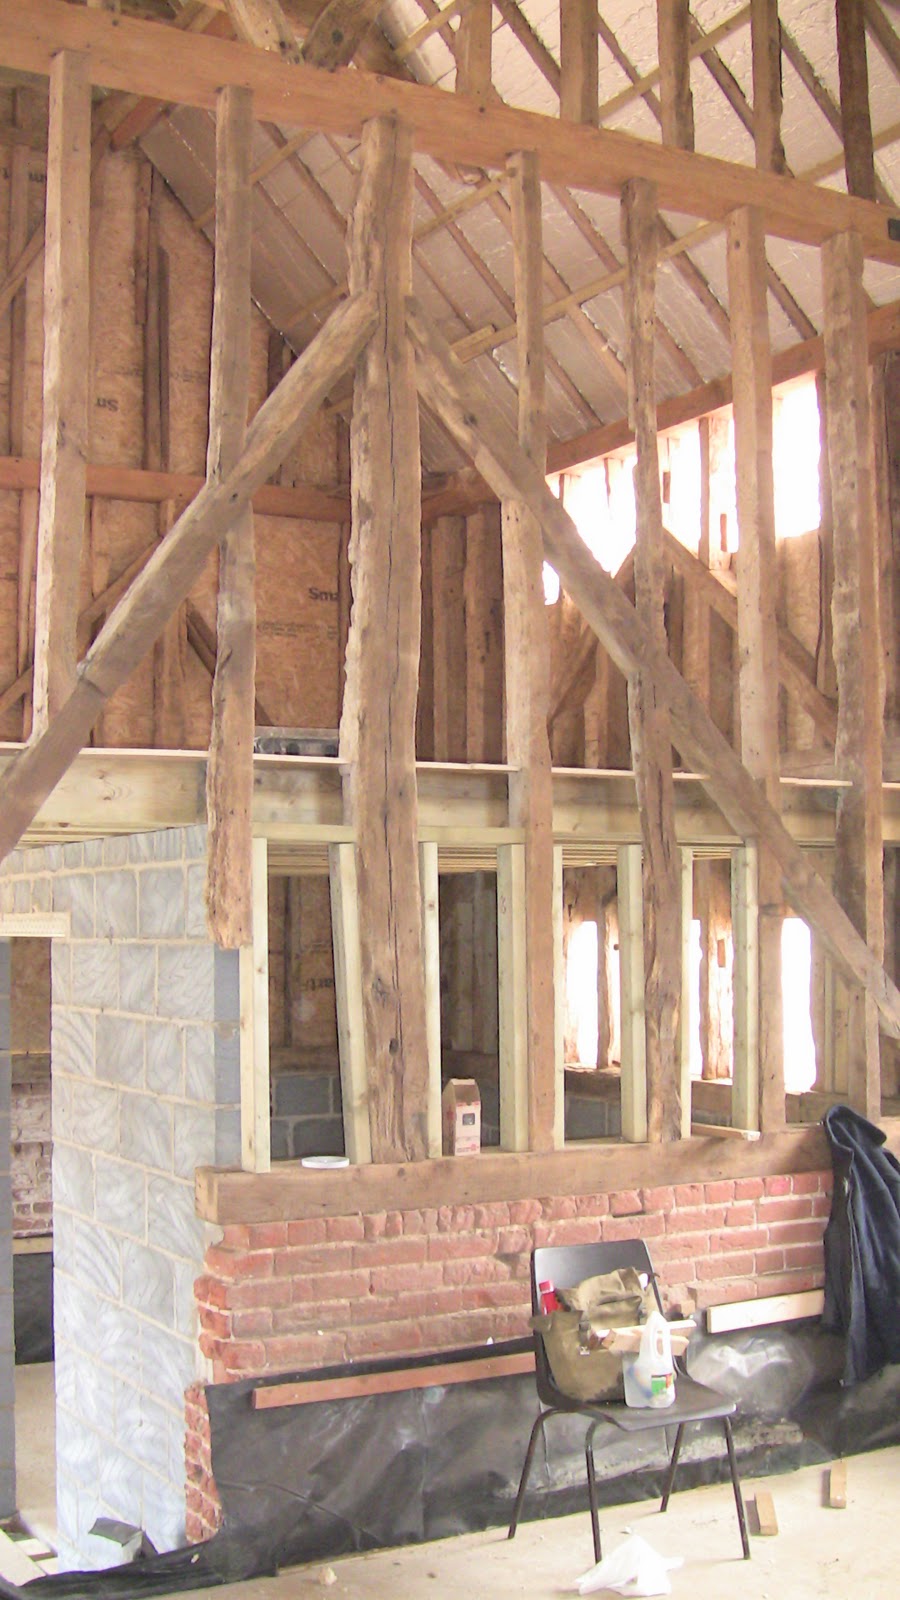
The view from the double height area through the open stud gallery to the main bedroom. You get a great view from up there over the kitchen and dining area. Just wish there was some way of retaining it. But it might be a wee bit uncomfortable getting into bed in full view ...


Dragon tie in a corner of the main bedroom with celotex between the rafters above.


Ply floor fitted round studs in the main bedroom, with that fabulous, but temporary, view beyond.


We decided this week to reduce size of cloakroom off the utility room. It was planned as a downstairs shower room. We've reduced it to give a bit more space to the utility room, to reduce costs in sanitary ware and because it seemed a bit extravagant to have a shower room downstairs. N'est ce pas?

We're still agonising over what internal doors to buy - not that we actually need them right now. The traditional choice seems to be oak framed ledged and braced with Suffolk latches rather than a proper door handle. Part of the problem is that oak FLB doors are actually quite expensive. Seems odd that the traditional door found in humble cottages all over the land is a bit of a luxury item. You can get solid oak veneer doors thick enough to take a lever handle and normal latch for a fraction of the price. Admittedly they're mass produced, and constructed using a cheap engineered wood. But the finished article looks pretty good and by all accounts is durable. Bye the bye, don't you love that term 'solid oak veneer'? Almost a contradiction in terms. It leaves you thinking it's solid oak (for which you'd have to look into taking out a second mortgage) whereas it means it's a solid door with a film, a smidgin, a smear, a veneer of oak stuck on the outside. Ah well that's progress.
Things are seldom what they seem,
Skim milk masquerades as cream;
Highlows pass as patent leathers;
Jackdaws strut in peacock's feathers


as Gilbert and Sullivan put it.

And finally


Thursday, 1 December 2011

Week Twenty Eight – Of Catenaries and First Floors

Always fancied a larder. Doesn't look much but, Tardis-like, it'll be fantastic. Honest.


The original design for the profile of the chimney piece showed vertical sides up the pillars and then straight slopes up to the roof. A triangle with the top sliced off sitting on a rectangle. We didn't like the feel of that - it just seemed too ponderous and heavy. We started to look for something else, something a bit lighter, a bit more exciting. Coincidentally we watched a programme on TV about architect Günther Behnisch and the engineer Frei Otto who designed the Munich Olympics stadia in the 70's. They used soap bubbles and string to create fantastic curved shapes which they then scaled up to model their designs. The beauty of such a system is that you end up with structures that are, by definition, balanced and in equilibrium. Inspired by their example, we thought 'how about making the sides of the chimney catenary-shaped'.


Now, as every schoolchild knows, a catenary is the curve of an anchor chain, or a rope fixed at both ends, hanging under gravity. It's a natural curve and perfectly balanced - at each point along the curve the tension in the rope is in equilibrium with the force of gravity. It would have been possible to plot out the precise curve on a piece of paper. But how would you then transfer it to the brickwork? Talking to our bricklayer we came up with a simple solution. Hang a piece of cord from the top and fix it to the outside of the brick pillars and there's your catenary. 

Next trace the curve onto a piece of plywood, cut along the curve with a jigsaw, and use the resultant edge as a form.


Replicate original curve on another piece of ply for the other side and away you go. Magic.


Wrestled with the character of the barn this week. I was reminded of the old saying 'One man's character is another man's pain in the neck'. Behold, a diagonal stud across the doorway to the main bedroom. Charming and full of character as already observed elsewhere in the barn. Unfortunately it was right across the middle of the opening, meaning one would have to do more than duck to get in the door - it would also require a sort of lop-sided limbo dance quite beyond all but the most committed. Furthermore, this particular diagonal stud was holding up a major truss. Chop this one and the whole barn could collapse. Well, maybe I exaggerate a bit, but you get the idea.


The solution was to install a new post from sole plate to wall plate. Fortunately the remaining reclaimed elm beam from another part of the barn was big enough . (The other one had been cut up to use as bressummers.) Nice to think we've managed to use them both.


Our engineer specified that the steel beam not be allowed to bear on the facing brickwork spanning the fireplace (and bressummer) but should rest on the lintels behind. The lintels span across to the brick pillars so the load path goes down brickwork all the way to the foundations whereas the panel of facing bricks over the fireplace bear on the bressumer - kind of. Anyway, our bricklayer trimmed the height of the central brick so that the steel beam flies over it and rests on the concrete lintel behind.


 Beam bearing on lintel, not the brickwork. It's called a soft joint apparently. A centimetre of air is pretty soft I guess.


Once the joists and steels are in you can chuck a load of plywood across it and, hey presto, you've got a floor.  So now we've got a first floor in the barn - in places at least. Here's the main bedroom en suite. Fantastic isn't it. Might look a bit better when there's a shower and stuff in there, not to mention a partition wall.


Another view of the main bedroom.


We decided the window frames will be black on the outside, to match the weather boarding, and natural wood on the inside, to match the timbers in the barn.

View of a bedroom floor at the other end of the barn. Could be a bit exposed as it is so we'll have to build a wall.


King post over the main bedroom. The plan is to leave it exposed. Bit of a dust trap maybe, but gorgeous.


The boarding has been removed from the internal wall between the double height area and the main bedroom. The open studs, and the view through, are just amazing. It would be great if we could retain that somehow. But we can't think of a cost effective, safe, reasonable way of doing it.

The flue and chimney will go up through a bedroom floor.


 And finally