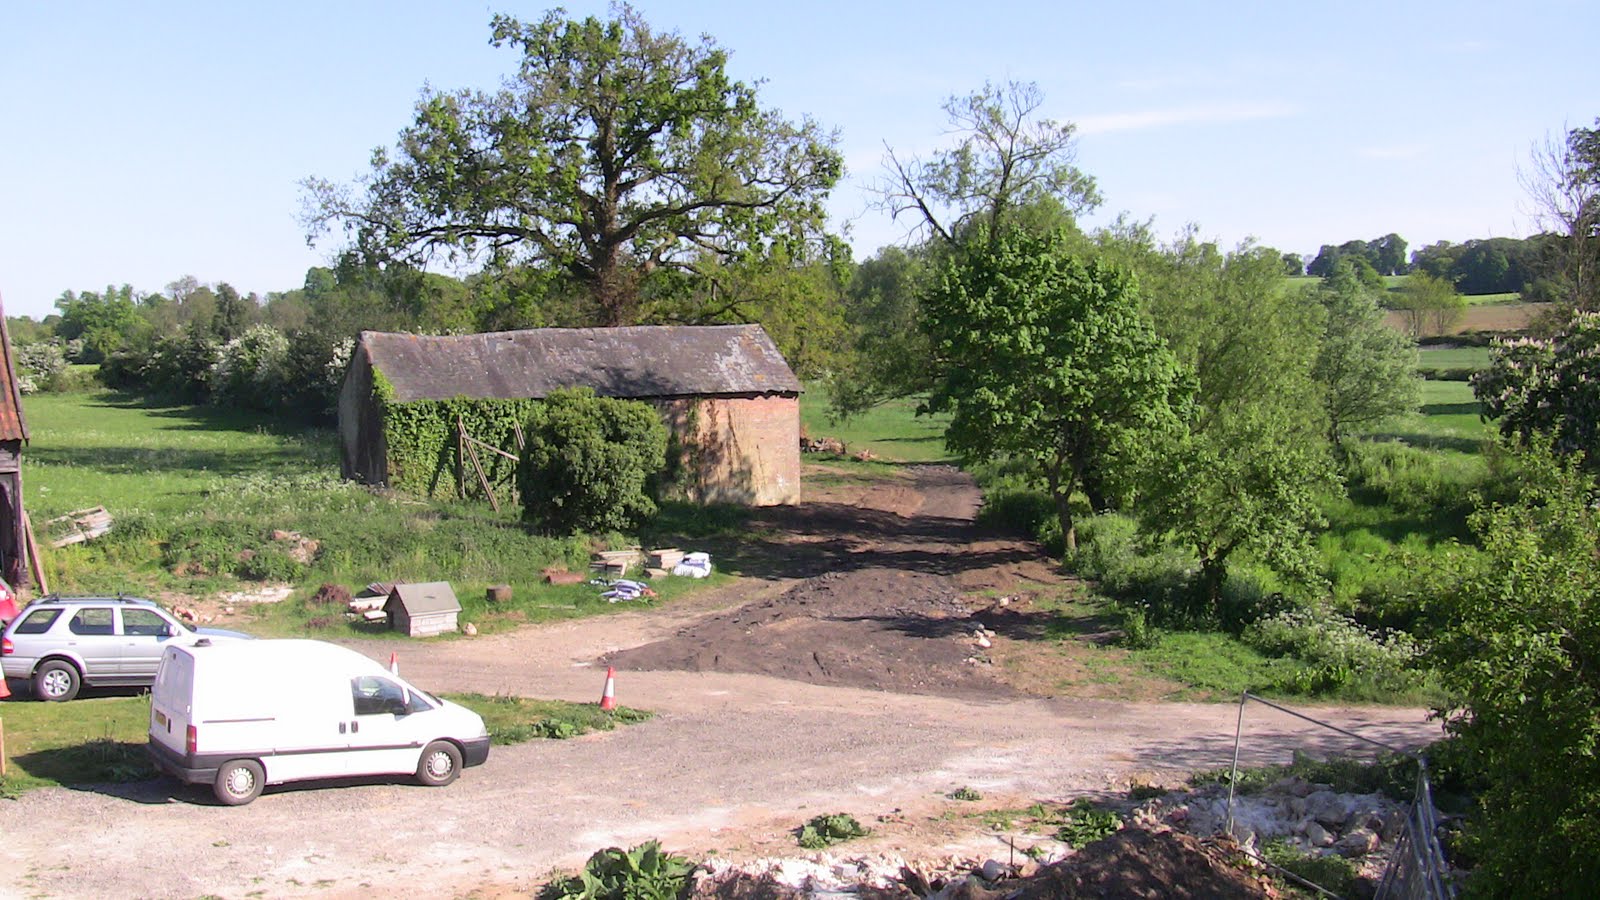
Saturday, 20 August 2011

Week Sixteen - Dem studs, dem studs, dem dry studs

Insulation of the north projection roof is done - 2 layers - one between the rafters and one above the rafters. Vertical battens are nailed in place for the tilers to come along and attach their horizontal battens to hang the tiles on to.


The weather boarding on the southern projection has been removed exposing the studs which make up the frame.


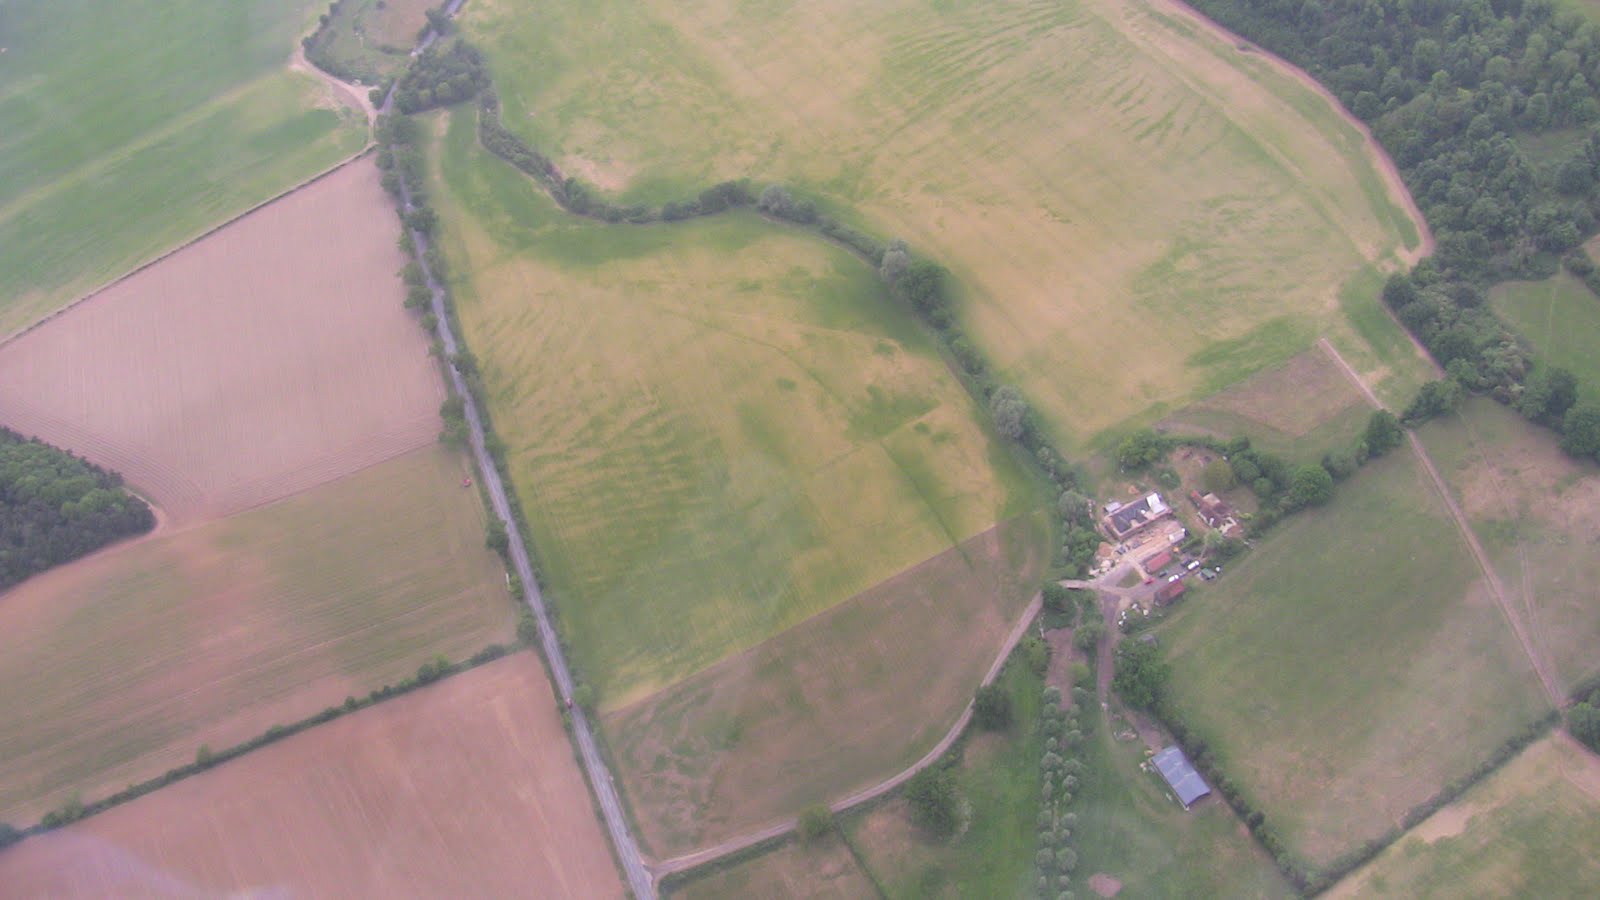
Went flying again this weekend and got my passenger to take a few aerial shots of the barn. It's surprisingly difficult to get a good picture. Maybe I could do with a better camera? A camcorder in still mode is perhaps not the best thing I could use, although it's OK for my other photos, no?


In the back garden our statue stands waiting patiently. She doesn't seem to mind being left alone all these months.

The facing brickwork at the at the north end looks great.


If you have a close look at the bricks near the corner you'll see what I'm told are called queen closers, one on each course of bricks on alternate sides of the corner.  Dictionary.com defines a queen closer, or closure, as a brick of normal length and thickness but of half normal width, used to complete a course or to space regular bricks, or a brick of half the usual length, for completing a course or for spacing regular bricks. But no doubt you already knew that, having looked it up on Wikipedia following our last discussion on the matter. Discovered a new bond the other day - rat trap bond. It's essentially the same as the flemish bond, which we already know and love, but the bricks are are standing on their side instead of lying on their back.  That is to say, instead of seeing headers and stretchers you see rowlocks and shiners. Right?


The fascia boards bought in last week need staining black before they get put up. Suffolk timber barns, and probably elsewhere too, are usually black. That's because in the 19th century every town had a gas works and black pitch was a by product of the process they used. So farmers could get it cheap to paint on their barns as a wood preservative. Prior to that timber frame barns were timber coloured.  Nowadays the view is that the traditional colour for a barn is black. Depends on your historical perspective I guess. Reminds me of a comment allegedly made by a recent Chinese leader when asked if he thought the French Revoloution had been good for France. He paused for a moment and said 'It's too soon to tell.'


At the north end, now that the plinth is done, the cladding can come off. Amazing sight seeing all that timber frame exposed to the light. Bit like seeing a skeleton. At one level it makes you feel a bit queezy, at another level it has a certain fascination, like a strapless gown. What's holding it up? How does it all hang together. What's connected to what, what supports what. How does it all work. And that sparks thoughts about the skill of the people who put it all together in the first place. Bit humbling really.


More celotex going on the roof. It's not glass, it's the reflective foil on the outside of the insulation boards.


I really love the view of the fields from the scaffold with the wood beyond. Pretty as a picture.

More of the cladding coming off - this time the west wall


The question is, what to do with all that cladding? Good thing we're having a wood burning stove installed. Kindling for years to come I suspect.

Once the cladding is off, OSB is nailed to the frame. OSB - Oriented Strand Board. Never heard of it, myself. It's like MDF or chipboard but a lot more durable and weather resistant. The OSB stiffens the frame as well as giving some substance to the wall structure.

With the tiles off and the black polythene sheeting rolled back you get a fantastic view of the roof timbers,  the rafters, purlins and new ceiling joists.

OSB on the south gable end.

The underpinning and repairs to the frame are finished so no further need for acrows and needles. Which means we have a pile of redundant railway sleepers and lumps of green oak. Have to have a look at a knitting website to see if I can find a pattern calling for 2 metre long wooden needles. A seriously chunky Arran sweater perhaps?

Waste celotex. There seems to be an incredible amount of waste inherent in the building process.

We're still struggling with the schedule, or lack of it. On a commercial site there'd be a project manager of some sort who'd have the responsibility of drawing up, and monitoring progress against, the schedule. This would make it easier to ensure that resources - men, materials, tools, designs, permissions, you name it  - are all in place as and when needed. Typically somebody needs to be asking at each stage, maybe each day, what's happening next, do we have all the resources we need for that? Since we're doing the project management and are on a very steep learning curve (which is a polite way of saying we don't have a clue) there's the continual worry that the guys are going to be standing around waiting for the nails to turn up next Tuesday. Fortunately that hasn't happened yet but we seem to be in fire fighting mode much of the time. The builder is great, answering our naive questions, prompting, explaining the process, suggesting sources of materials. But he has his own job to do and sometimes we miss things and find ourselves driving around to pick stuff up which is urgently needed.
The upstairs windows on the plan are shown right under the wall plate. Unfortunately that would mean the tops of the windows would be under the fascia boards fixed to the rafter feet and carrying the gutters. Gonna have to think about that one.


Since the central part of the barn will remain double height, there is a problem with how to get services (electricity, plumbing, ventilation) from one end of the building to the other. We eventually decided upon a high level ceiling, about a metre below the ridge, creating a triangular cross-section tunnel under the apex of the roof. This still leaves a drop of 6 metres from ceiling to floor which we reckoned was ample, and has the added advantage of hiding the new purlins.

Another snag which hit us this week was the height door at south end. Because of an earlier decision about the finished floor level in that area, the head of the existing opening is only high enough to allow a 6 foot door instead of the more usual 6 foot six. (I'll discuss units of distance later ...) Lifting the head of the door would mean more surgery to the frame - chopping tenons on the ends of the transom, reducing the studs above and re-cutting their tenons. Not a huge amount of work but we decided we could live with a 6 foot door.  We might put a picture of a duck over the door ... geddit?


Concerns about the tension in the trusses holding the sides of the building together, and discussions with our engineer, led to the design and commissioning of reinforcement brackets to fix steel rods running across the top of each of the three trusses. It's not pretty but it means the walls won't splay outward when the roof is put back on.


And finally


Sunday, 7 August 2011

Week Fifteen - Restoration's end

We called week 3 the 'end of the beginning'. This week is more or less the end of the repair and restoration phase and marks the point at which new things have started to happen to the barn. Up till now we’ve been making good the original structure. We could stop now and the barn would be more or less as it was when it was first built and would probably stand for another 200 years. (We’d have to put the tiles back on the roof first, though.)
Here's a scaffold flower. As well as the familiar scaffolding on the outside of the building we also have a birdcage, an internal scaffold which enables them to get at the underside of the roof as well as supporting the frame while they pull out and replace load-bearing timbers.


Celotex - we ordered a heap of the stuff for the roof, walls and floor. Standardising on a single thickness, 100mm everywhere (apart from the inside of the plinth) seemed like a good idea. Actually it's not celotex but something called ecoversal made by ecotherm. The builder's supplier assured me it was the same thing and certainly the u-values listed on the ecotherm website are the same. And if it's on a website it must be true, no?


Some more Roman numerals chiselled into the timbers. Get everywhere these romans don't they.

Another truss, another scarf joint, this time up in the roof at the north end of the barn.

The Planners allowed us to have a skylight at the north end of the building where it faces away from the road. So here's the hole in the roof for a for Velux skylight to slot into.

A big mile stone passed. Repairs to the roof are pretty much done and installation of the celotex between the rafters has started. The 8 foot by 4 foot boards have to be cut to size and shape. With all the sun we've been getting lately the guys are getting fried, hit by radiation both sides, direct and reflected off the foil backing of the boards. They're  a bit like chickens in a rotisserie - they don’t seem to mind though.

The sections of plinth on the east side have all now been done

North end plinth facing almost complete – a strip of damp proof course to protect wet mortar if it rains

And finally


Wednesday, 3 August 2011

Week Fourteen - Frame & Plinth


Building companies make a clear distinction between employees working with bricks and those working with timber - the Brickies and the Chippies. You could call them the B team and the C team but that's probably not a good idea if you want to get off site in one piece. On our site the demarcation is rather more fluid with all the guys mucking in with a bit of everything as required. But that doesn't mean they are Jacks of all Trades Masters of None. There's still specialization, with half the team spending most of their time working on facing and brickwork, and the other half working on repairs to the frame. And there's a certain amount of good natured rivalry between them. At least, I've always taken it to be good natured ...
Most of the effort at the moment is being expended on the facing brickwork and the repairs to the roof timbers of the north projection.
Here's some interesting brickwork on a wall near the site. We're unlikely to try to emulate it, although it could be fun. They'd probably have a fit if we suggested it.


A row of studs waiting for the new wall plate to be slotted into place on top.


Some of the internal walls have feather edge boarding like the outside of the barn. It has been suggested that this is evidence that the barn was built in stages with extra bits being added over the years. It's a planning condition that we retain as much of the existing boarding as possible. However it's in a pretty poor state.

North projection roof timbers minus rotten rafters and cripples.

The 'tear down and rebuild' phase of repair to the brick plinth is hopefully coming to an end. We're now looking at what other repairs will  need to be carried out, and this is raising some interesting questions. There are some places where work was done in the past using whatever bricks were to hand at the time. For example, a patch of suffolk white bricks used to patch up a damaged section of red brick. Do we chop them out and repair the hole "properly" using reclaimed bricks matching the rest of the plinth, or do we leave the old repair and just accept it as part of the quirkiness of the barn. The point is that, functionally, there's no need - the old repair works fine. It's just a bit of an eyesore. But then it was only an agricultural building and nobody really cared what it looked like as long as it kept the contents dry, be it animals, crops or machinery. So maybe we should just leave it alone. Obviously there are some places where frost and rain have eaten away at the brickwork where we have to do something. But there again, should we use matching reclaims or just use any old brick that happens to be lying around? (Actually they'd have to be bought in, but you get the idea.)


At the moment it's dead easy to see the new sections of facing brickwork. However we are assured that once the old mortar has been raked out and the wall repointed with fresh mortar (a mix of hydraulic lime and white cement) it will be less obvious. Personally I don't mind. To some extent it's good that the new bits will be obviously new and the old bits obviously old.


Getting there - facing at the north end.

The grass on our field (still leased to the farmer) is suffering from the lack of rain. The farmer's barley next door seems to be doing OK, but what do I know?

The views from the scaffold just get better and better.


We've been incredibly lucky with the weather - note the un-English blue sky. Virtually no time has been lost so far due to rain. Everybody else is moaning about drought conditions but we’re just counting our blessings.

The barge boards for the gable ends clearly need replacing. It would be nice to use a hardwood but that would cost a fortune - 4 enormous boards (2 for each end of the main roof) 5.4m long. We spent ages ringing timber merchants all over East Anglia and beyond looking for a good quality softwood and  eventually found some 50 miles away.


The decision on capping boards was finally made this week. It has been a see saw few weeks - on off, we love them, we love them not. We've tried to balance style versus durabilty by going for a hardwood, iroko. Although it's expensive there's not a huge amount of it and they should last, hopefully. And, most importantly, they'll be in keeping with a Suffolk barn.
This week we hired a power washer to spray the brickwork to remove stains and algae. We also got in some anti fungal stuff to add to the spray but in the end decided not to use it as there didn't seem to be any need. I was loathe to run the washer at full power as, in addition to taking off the muck it seemed to be taking off a layer of brick. It didn't take long and the end result is fine, at least in my eyes.
Before
After
And finally


Saturday, 23 July 2011

Week Thirteen - Claims and Reclaims

Face on, the brick plinth just looks like a simple flat wall. It is in fact stepped, giving a wider base to spread the load. That's maybe why the barn managed to stand for 150 years on foundations only a few inches deep. Knew a thing or two those Victorians. Of course we now know better, don't we.


The bits of plinth we're renewing are rebuilt as an inner skin of high strength 7 newton blocks and an outer skin of reclaimed bricks. Essentially the bit inside the building does all the work and the bit outside is just there for show. Rather like a married couple really.


The  blockwork on the north projection is complete and bricks are being laid out ready for the facing.


Work on the facing starting.


Note the physical damp proof course being inserted between the skins. and under the blocks.


I just love some of the fantastic old timbers in the roof. There are socket holes clearly not part of the structure. The barn must have been put together using, among other things, pieces of timber reclaimed from other structures. There are several examples of it round the barn. A barn is a working building - function is what counts, not appearance. Who cares what the trusses look like as long as they do the job. Interesting philosophy of life.


Yet another truss with the end rotted away


We've finally run out of our own reclaimed bricks and had to buy in some more. Had great fun driving round reclaim yards in Suffolk trying to match our bricks. You'd be amazed how much variation there is - shades of orange and red, slightly bigger slightly smaller. They're all imperial sized but it would appear there was no such thing as a standard brick. Every little village had it's own source of clay and it's own brick yard. And each yard had it's own brick mould, all slightly different. And the time and temperature in the kiln, even the location of the brick within the kiln, make a difference to the the brick you end up with. So bricks relcaimed from old buildings in different parts of the county or from different periods will be subtly different. Even reclaims from a single demolished building will vary. We got some samples of what looked OK to us and took them back to our bricklayer for his seal of approval before we committed to buying two packs of 500 bricks. Needless to say the only one he liked was the most expensive one of the lot. Ah well.


We're getting closer to making our mind up about the design of the wall insulation. To achieve the U-value we need for the ground source heating to work we need 100 mm of celotex or equivalent on the outside, and 75 mm inside between the studs. However our builder advises us that cutting the insulation boards to fit between the studs, which are old knarled and irregular is both time consuming (ie expensive) and not very effective. You end up with a myriad of leaky, drafty gaps. A better solution is to put some sort of wool between the studs and a vapour barrier on the inside. We've discovered that there are such things as 'intelligent membranes' on the market. No, they're not going to help you solve the Times crossword, but they're clever enough to block the flow of moisture from inside to ouside (thus preventing condensation within the relatively cold extremities of the wall structure) during the winter months but allow moisture to flow back into the building during the summer months (thus allowing any moisture trapped in the structure to get out). Beats me how the clever little stuff knows what the date is but they claim it works and there are German technical university papers to prove it. At least that's what it says on their website, so it must be true, no? So we're probably going to go for sheep wool between the studs with an intelligent membrane vapour barrier inside.

And finally – note the heap of celotex under a tarpaulin ready to go on the roof once the timbers have been repaired.


Repairs to the south projection roof